Saturday, April 22, 2023

Side Pillar Pop-Up Card Instructions

 Hi everyone!!!

If you're coming from my

#JanieTheCraftPrincess30KCelebration

Collaboration Hop & Giveaway...

THANK YOU SO MUCH for helping me celebrate my 

30,000 subscriber milestone on YouTube!!!

Just scroll down for the templates/instructions 😊


And if you arrived here by chance and didn't know about the celebration hop & giveaway on YouTube, then you also didn't see my video tutorial that these cardmaking instructions go to.  So here is a link to my video,

Side Pillar Pop-Up Shaker Card 

And then from there just click on the hashtag to watch the rest of the videos in the hop and have a chance at winning some FABULOUS PRIZES!!!

The giveaway is open April 22-29, 2023, but the videos will still be available to watch 😊


Ok.....here is what you came to get....the downloadable sheets with the templates and measurements to go along with my video tutorial for the Side Pillar Pop-Up Card.  You should be able to RIGHT CLICK (or left click then right click) on each one and then choose SAVE AS.


Remember, if you haven't watched my video, you will need to watch it to see  how all of this goes together.  

Thanks for stopping by and....
HAPPY CRAFTING!!!


Saturday, November 12, 2022

Card Sketch - Perfect For Christmas Or Any Occasion!!!

 Card Sketch

Perfect for Christmas or any occasion!!!


I used this card sketch in my YouTube video today, and I wanted to share it with my blog followers and my YouTube subscribers and viewers as my way of saying THANK YOU!


This sketch is designed for 5" x 6.5" cards.

(links to products used, including cards & envelopes, are below)

To save or copy the image just RIGHT CLICK on the image and then choose SAVE AS to save the image to your computer, or COPY.  OR LEFT CLICK and then RIGHT CLICK and choose SAVE AS or COPY.  Either way works.


Here are some of the cards I made in my video


.To watch my video you can CLICK HERE


In my video I'll show you how I used double-sided paper to create this look, but you can also do it with single-sided papers.  Also this sketch is perfect for ANY occasion, not just Christmas.  I plan on using this again in the future for birthday cards and more.


Here is a list of products I used:

(these are links you can click on to get to the products)

5" x 6.5" Value Pack Cards & Envelopes by Recollections®

Peppermint Stripe Paper Pad by Recollections™, 6" x 6"

Gingerbread Christmas Stickers by Recollections™

Christmas Cottage Die Cut Stickers by Recollections™

8.5" x 11" Foil Cardstock Paper by Recollections™, 25 Sheets

Beacon 3-in-1 Advanced Craft Glue 8 oz

Distress Ink ***Some links may be affiliate links and even though I might benefit from you using them, it will not affect the price of the product for you. Thanks you for your support***


If you use this sketch I would LOVE to see your cards! Please stop by my Facebook group, Crafter's Castle, and share your creations 😊


Thanks for stopping by and....

HAPPY CRAFTING!!!


Saturday, November 5, 2022

Shabby Chic Journal Transformation & Giveaway!!!

Today on my YouTube channel I'm a Guest Designer for Decor8your life...AND...having a GIVEAWAY!

In my video I'm sharing the....

Transformation Of A Plain Craft Spiral Notebook

to an Elegant Shabby Chic Journal


CLICK HERE TO WATCH ON YOUTUBE

Links To Products I Used And Discount Codes

Decor8yourlife
fur Elektra Shabby Chic Digital Paper Pastel Cardstock Fabric Paper Temptress Paper Temptress 20% off disount code: JANIE20 or janie20 (works both ways) Pearl Glimmer Cardstock White Pearl Linen Cardstock
GIVEAWAY DETAILS!!!
***This giveaway is in no way affiliated with YouTube***
***You must be 18 years of age or older to enter***
***This giveaway is sponsored by Decor8yourlife***
***Giveaway is open Novemeber 5, 2022 - November 13, 2022***
The prize is ONE DIGITAL COLLECTION from Decor8yourlife 💗
To be entered in this giveaway you must visit Decor8yourlife website and take a look around. Then watch my video and leave a comment there (or edit your comment) telling me the name of your favorite digital paper collection that you might like to get IF you are the winner 😊
This is a video based giveaway, so any comments left here on my blog will not be included. It's that simple! Of course I would love it if you are SUBSCRIBED and if you LIKE and SHARE my video.....but it is not required for this giveaway. I'm just thankful that you are watching my video, commenting, and visiting Decor8yourlife. I hope you also visit Paper Temptress 😊 ***The winner will be announced on my channel on or about Tuesday, November 15th, 2022***

Thanks for stopping by and....
HAPPY CRAFTING!!!


Sunday, October 16, 2022

DIY Epoxy Resin Cuff Bracelets!!!


 New video on my channel today!

Just thought I would share some bracelets I made using ArtResin non-toxic epoxy resin. They are so pretty. One is mine and one I sent to my sister for her birthday 😊 

 This video is not a tutorial, but if you would like to see a tutorial please leave a comment letting me know.  However, in my video I do show the products used and tell a little about how I made these bracelets. CLICK HERE to watch.


I do have other videos on my channel where I show how to use ArtResin and make some jewelry.

The resin I use is ArtResin and is certified NON-TOXIC.....No VOCs, No BPA, No fumes, No need for special protective gear other than gloves (it's difficult to clean off your skin even though I have done it many times...LOL).

To learn more about ArtResin's safety you can CLICK HERE

Thanks for stopping by and....
HAPPY CRAFTING!!!


Saturday, September 17, 2022

5 Step Stepper Card Tutorial, Directions, & Diagram


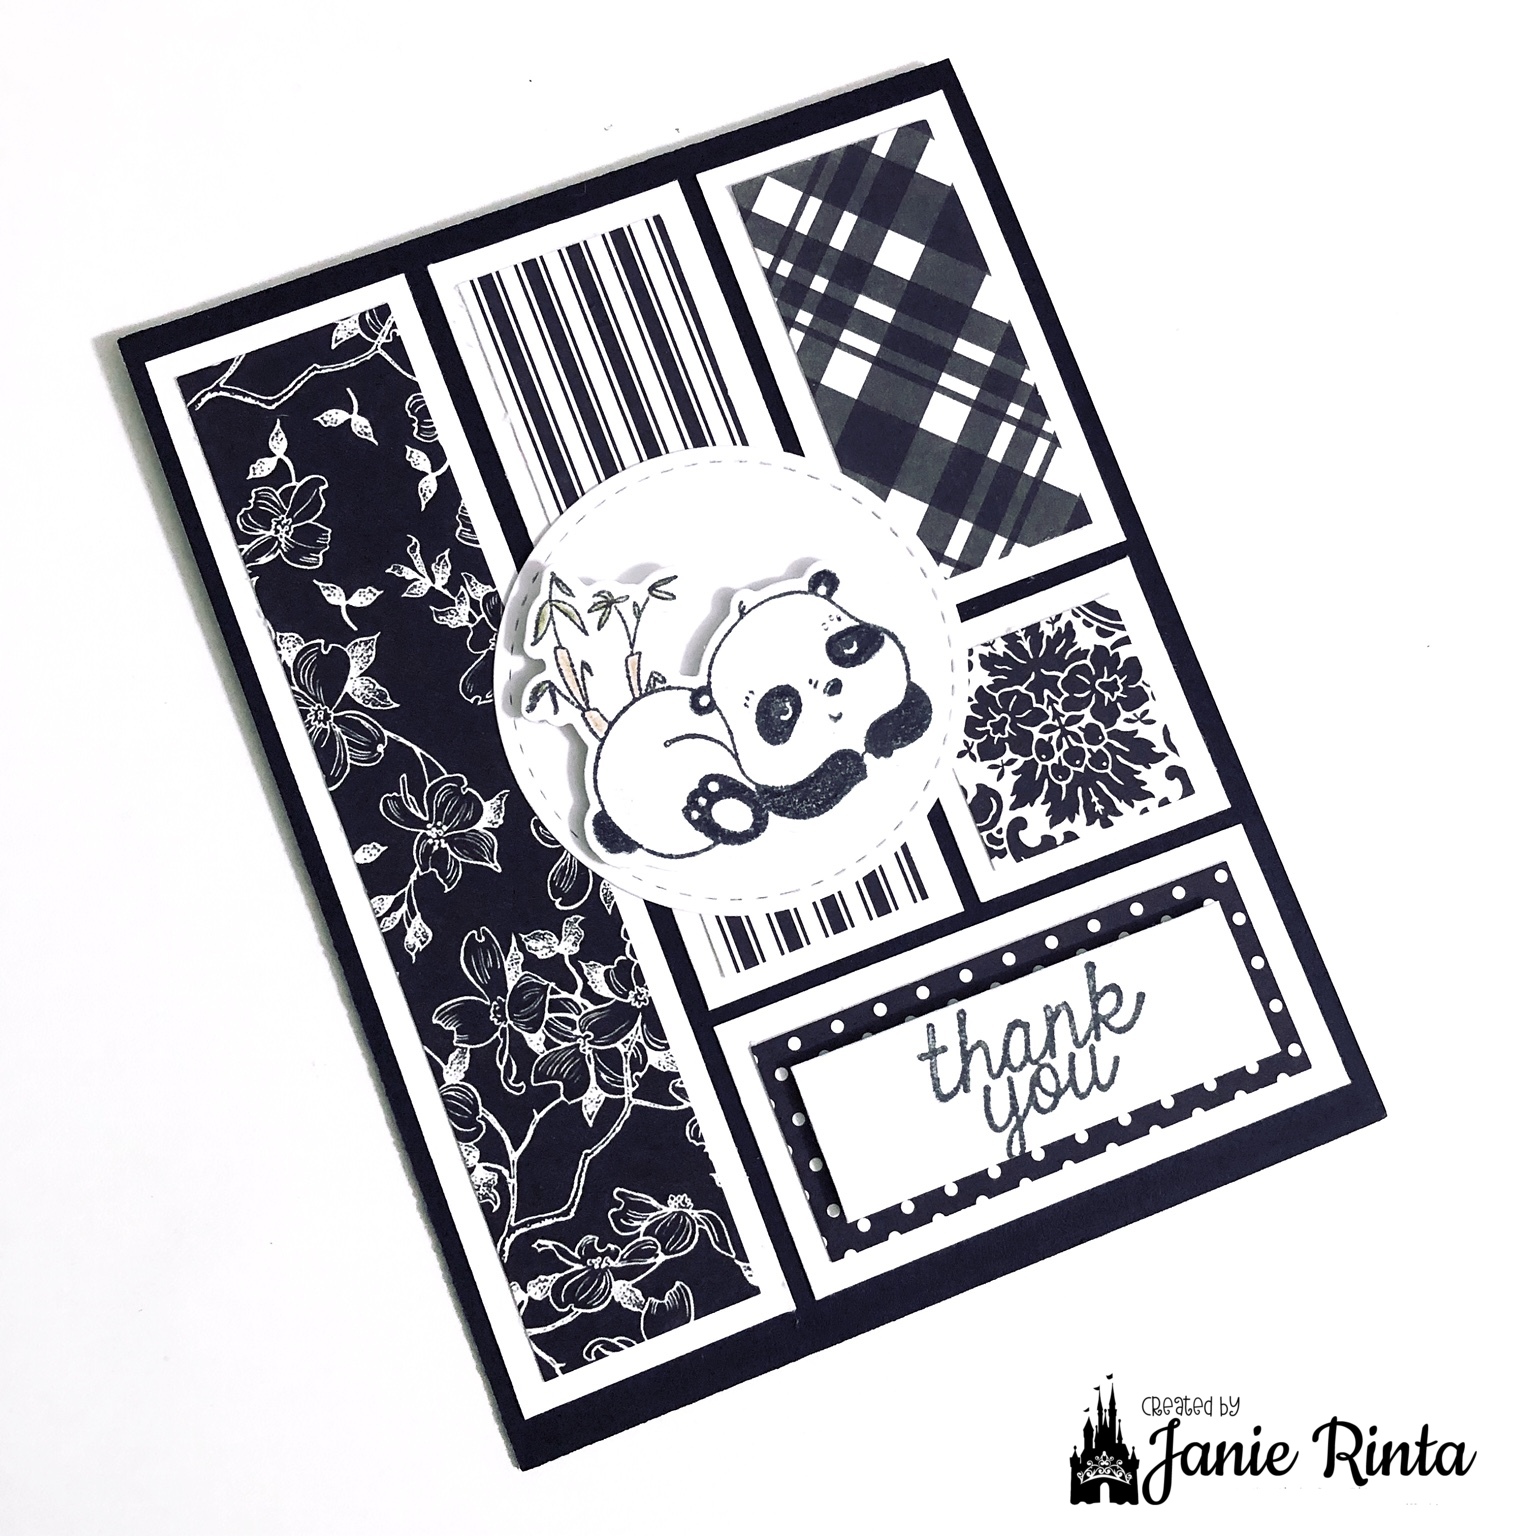
Don't let the Christmas cards fool you....this card fold is perfect for EVERY OCCASION!!!

You can make theses masculine, feminine, kids, weddings, anniversaries, birthdays.....whatever you need.


CLICK HERE to watch my video tutorial


Here is the diagram you can use as a visual aide.

RIGHT CLICK on the image and then choose SAVE AS to save the image to your computer, or COPY.  OR LEFT CLICK and then RIGHT CLICK and choose SAVE AS or COPY.


Solid lines are CUT lines


Dotted lines are SCORE lines


5 Step Stepper Card

 5 ½” x 8 ½” cardstock (A2 size card)

Cutting Directions


Use a PAPER TRIMMER not a guillotine or rotary cutter

Lay in paper trimmer horizontally/landscape

Place cardstock at 1” mark

Place blade at 2 ½” and cut from 2 ½” to 5 7/8”

Slide cardstock down to the 2” mark

Place blade at 3 3/8” and cut from 3 3/8” to 6 ¾”

Slide cardstock to the 3 ½” mark

Place blade at 3 3/8” and cut from 3 3/8” to 6 ¾”

Slide cardstock to the 4 ½” mark

Place blade at 2 ½” and cut from 2 ½” to 5 7/8”


*If you use your paper trimmer to score, then turn the cardstock ¼ turn to your left, and follow the scoring directions below*


*If you use a scoring board, leave your cardstock in the same position it was while you were cutting, place on your scoring board, and follow the scoring directions below*


 Scoring Directions

If using a scoring board, using a ruler for a guide will help keep your scoring tool lined up.

At 2 ½” score from the top edge to the first cut line, and from the last cut line to the bottom edge

At 3 3/8” score between the first and second cut lines, and between the third and fourth cut lines

At 4 ¼” score between the second and third cut lines

At 5 1/8” score from the top edge to the first cut line, and from the last cut line to the bottom edge

At 5 7/8” score between the first and second cut lines, and the third and fourth cut lines

At 6 3/4" score from the top edge to the second cut line, and the third cut line to the bottom edge


Starting with the score lines at 2 ½”, fold all of the FIRST score lines MOUNTAIN folds.  Fold the next score lines VALLEY folds.  And the last score lines (which will be the front of the card) MOUNTAIN folds.


Layers

1 Horizontal panel:  1-¾” x 5-½” / Layer 1:  1-5/8” x 5-3/8” / Layer 2:  1-½” x 5-¼”

4 Vertical panels: 1” x 2-1/2” / Layer 1:  7/8” x 2-3/8” / Layer 2:  ¾” x 2-1/4”

1 Center vertical panel:  1-1/2” x 2-1/2” / Layer 1:  1-3/8” x 2-3/8” /

Layer 2:  1-1/4” x 2-1/4”


You can always make the layers the size of your choice.  You can also just do one layer if you want, or three layers.  It just depends on the look  you are going for.


Thanks for stopping by and....

HAPPY CRAFTING!!!


Saturday, September 10, 2022

W-V Fancy Fold Card

Hi Everyone!

Today on my YouTube channel, Janie - The Craft Princess, I have a video tutorial on how to make a W-V Fancy Fold Card.  If you have never heard of that card be sure to check it out.  You can find the video by clicking HERE

Here are a couple pictures to entice you 😊


I discovered this card in a Kat Scrappiness video that Tasha (Crafty Pink Pixie on YouTube) made.  Below you will find a link to her blog post that has a link to her video as well as the measurements she used for her card.

As promised in my video, here are the measurements I used.


Measurements


Base: 5 1/4" x 11"
Score: 1 3/4", 3 1/2", 5 1/4" and 7"

I show how to fold it in my video 


Small Base: 3" x 6"
Score: 3" and fold


 Panels

Back Panel Layer 1(Solid Paper): 3 7/8" x 5 1/8"

Back Panel Layer 2 (Patterned or Solid Paper) 3  5/8" x 4  7/8"


4 Panels Layer 1 (Solid Or Glitter Paper): 1 5/8" x 5 1/8"

 4 Panels Layer 2 (Patterned Paper): 1 3/8" x 4 7/8""


3" x 3" Card (3" x 6")

Front Square:
Layer 1 (Solid): 2 7/8" x 2 7/8"
Layer 2 (Solid/Patterned/Image): 2 5/8" x 2 5/8"
Back Square:
Layer 1 (Solid): 2 7/8" x 2 7/8"
Layer 2 (Solid for sentiment): 2 5/8" x 2 5/8"


Optional Square For Back Panel 

Layer 1 (Solid) 2  3/4" x 2  3/4"

Layer 2 (Solid for sentiment OR Image) 2  1/2" x 2  1/2"


Watch my video for details on putting it all together.


For Tasha's version of this card you can find her measurements and link to her video on her blog...Click HERE


Thanks for stopping by and....

HAPPY CRAFTING!!!


Sunday, September 4, 2022

DIY SHAKER POCKET - You Don't Want To Miss This!!!

 The DIY SHAKER POCKET has revolutionized the shaker card world!!! This may be different than what you're imagining so be sure to watch by clicking HERE. Besides, you'll want to see how I made this beautiful card 😊


Let me tell you a little about this shaker card...

I did not use foam tape
I did not have sequins scattered everywhere
I did not have to make sure the sequins were in the right place

I could easily judge if I had enough sequins

I could go on and on, but you will just have to see for yourself 😊


I'm still on my "use what you have" kick.

The Prima Marketing flowers I have had for years and hadn't even opened the jar they came in.

The gold glitter paper that I die cut the Paris scene from is from Close To My Heart and they still sell it even though I have had mine for a couple years. Here is a link if you want to check out CTMH glitter paper....click HERE I also used that for the piece for the sentiment.

The gold glitter bling in the center of the flowers are from Close To My Heart and I have no idea how long I have had those, but they were the perfect addition to the center of those flowers to bring all the gold sparkle together. CTMH doesn't have the exact ones anymore but here is a link to their Gold Glitter Gems...click HERE

The sequins I have had for YEARS and 2 of the colors I had never even opened until I made this.

The Bonjour stamp is also from CTMH but they no longer have that one.

And that background.....well I made that in a video last year called Magical Embossing Powder Techniques - A Collaboration With Rise And Procraftinate and if you haven't seen it just click HERE So that had landed in my stash just waiting for the right project to use it on 😊

You never know what you'll find when you start looking through what you have 😊

Oh and that Paris skyline die is from Kokorosa Studio and it's called "Kokorosa Metal Cutting Dies With Paris Buildings" (ok that's a mouthful!!!) and you can find it by clicking HERE That is the only new thing I used.


Well I hope you check out that video because it will be worth watching just to see how the shaker pocket is made 😊


Thanks for stopping by and....

HAPPY CRAFTING!!!